How to use ‘Medstars Connect Patient’ for Remote Consultations
Medstars Connect is a remote healthcare app that allows you to receive first-class care from your health professional via video call or live chat. Follow steps 1-8 of this guide to remotely connect with your health professional using the ‘Medstars Connect Patient’ app.
1) Download ‘Medstars Connect Patient’
(Only download ‘Medstars Connect Patient’ if requested to do so by a health professional. The app will not work if you aren’t connected with a health professional.)
Your health professional will let you know that your remote consultation is going be conducted using Medstars Connect, and they will ask you to download the ‘Medstars Connect Patient’ app in advance.
There are two ways to download the ‘Medstars Connect Patient’ app to your smartphone:
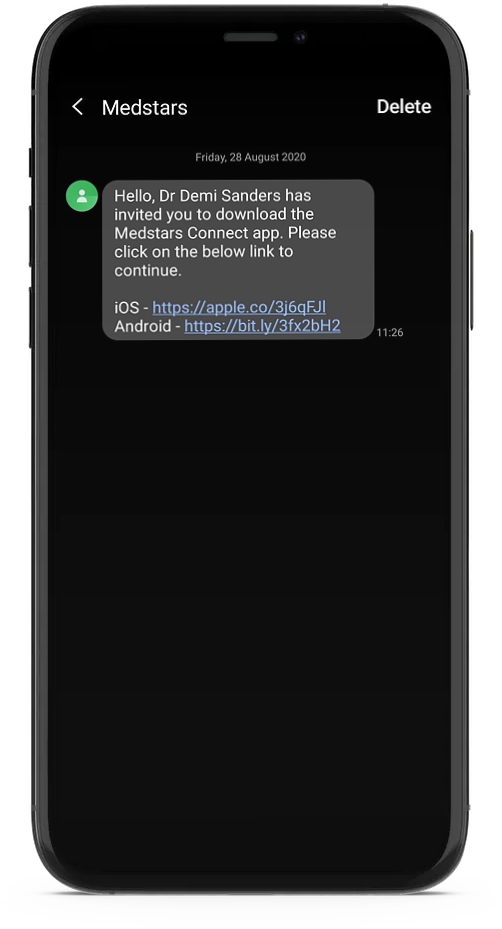
a) Accept an invitation from a health professional
- Your health professional will invite you to join Medstars Connect.
- You will receive this request in the form of a link sent via SMS. Click the link and follow the instructions from here.
b) Download ‘Medstars Connect Patient’ directly from the App Store or Google Play
- Visit the App Store or Google Play and search ‘Medstars Connect Patient’.
- You may see four apps listed (Medstars Connect Patient, Medstars Connect Doctor, Medstars NHS Patient and Medstars NHS Clinician).
- For private healthcare appointments, make sure you download ‘Medstars Connect Patient’.
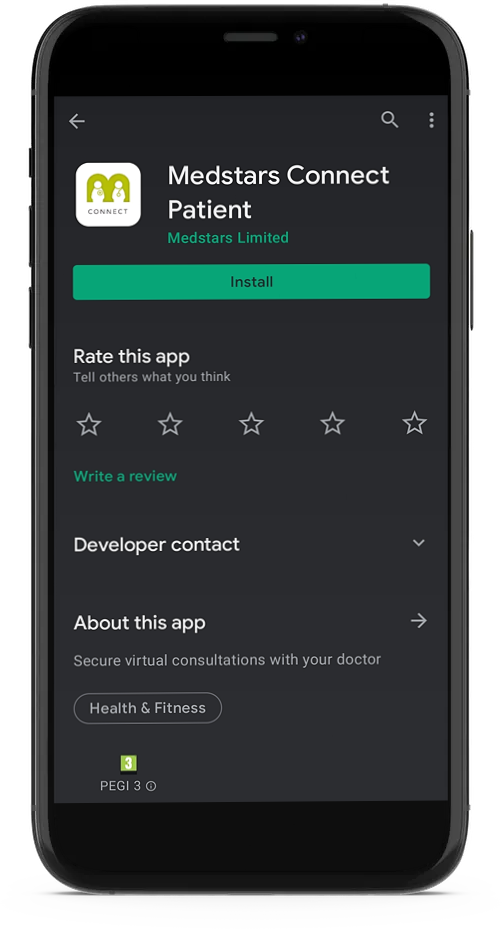
- You can also download the Patient app for private healthcare via the buttons below:
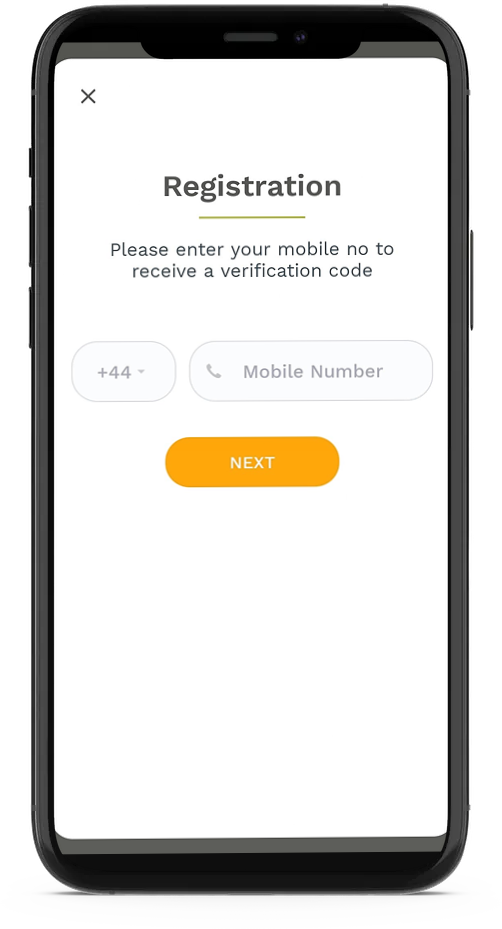
2) Create your ‘Medstars Connect Patient’ account
Once downloaded, you’ll need to create your ‘Medstars Connect Patient’ account. This will only take a few minutes.
- Open your Patient app and click the orange ‘REGISTER’ link.
- Provide your mobile number and verify it using the verification code sent to your smartphone via SMS.
- Create a password.
- Provide your name, date of birth and email address. (To add your DOB, start by clicking the year, then click the arrows to change the month and then you can select a specific date on the calendar).
- Add a profile photo.
- Select your notification preferences and agree to our Ts&Cs (IMPORTANT! Make sure SMS and in-app notifications are turned on so you can receive appointment reminders and important appointment alerts.)
Once you’ve completed these steps, you’re ready to go.
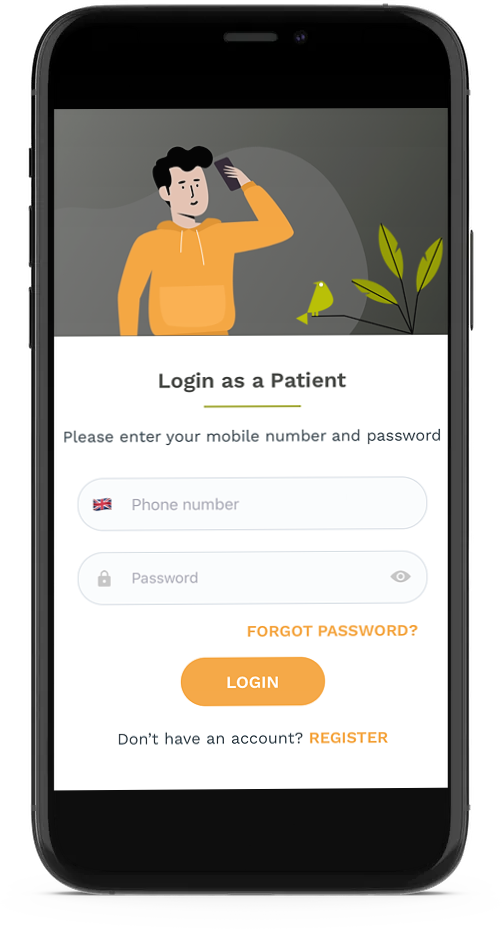
3) Log in to ‘Medstars Connect Patient’
- Open your Patient app and log in using the email address and password you’ve just set up.
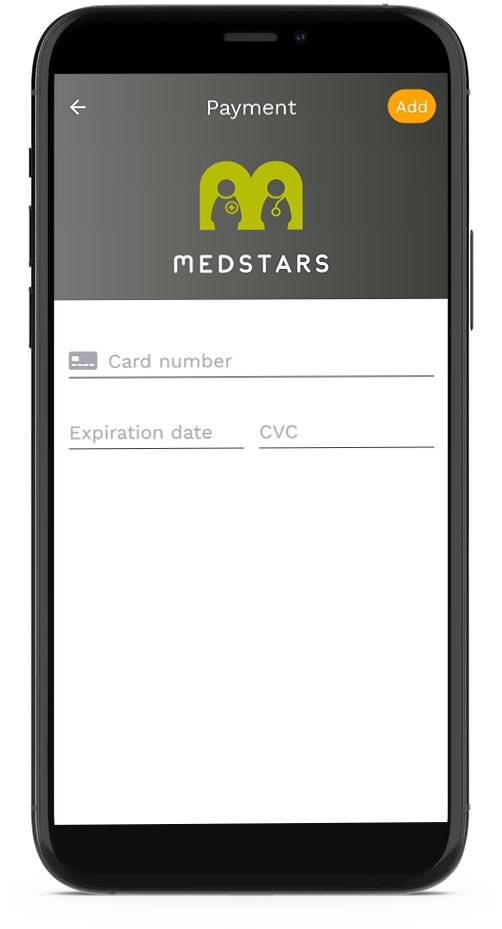
4) Add your payment card
- Click your profile picture at the top left-hand corner of your screen, then click ‘Payment Details’ and select the orange ‘+ Add card’ button at the top right-hand corner of your screen. Follow the instructions from here.
- It’s important to set your payment details up straight away because for private appointments you’ll be asked to pay any fees upfront. If you’ve already added your card as part of the set-up process, it’ll be even easier to connect with your health professional!
5) Accepting video and live chat appointment requests via ‘Medstars Connect Patient’
There are two ways to accept an appointment request from your health professional:
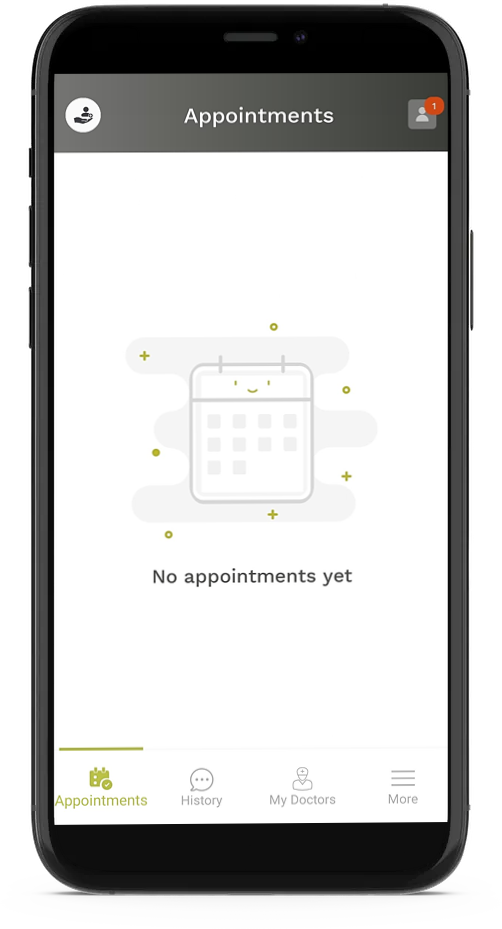
a) You’ve already downloaded the Patient app in advance, and your health professional offers you a video or live chat appointment.
- You will receive an SMS asking you to log in to the Patient app and accept your appointment.
- Open up the Patient app and click the red notification at the top right-hand corner of your screen.
- From here you can pay any fees due, and accept the appointment.
OR
b) You haven’t downloaded the Patient app yet, and your health professional offers you a video or live chat appointment.
- Firstly, you will receive an invitation to download the Medstars Connect Patient app via SMS. Click the link and follow the instructions.
- Once downloaded, you’ll need to create an account. (To do this, please go back and refer to the instructions in point 2 of this guide.)
- Once you’ve logged in to the app, you’ll need to 1) accept your health professional’s invitation to connect and 2) accept the appointment offered.
- To accept your health professional’s invitation, click the red notification at the top right-hand corner of your screen.
- The red notification will not disappear until you have also accepted their appointment offer. To do this, click the red notification again to display the appointment request screen, accept the appointment and follow the instructions to pay for your appointment in advance.
In both cases, If you do not want to accept this appointment, click decline and your health professional will be notified. They can then arrange a more suitable date and time outside of the app, and send another request within the app.
6) On the day of your remote appointment
The instructions below cover both video and live chat appointments.
- You will receive a number of appointment reminders via SMS on the day of your appointment.
- IMPORTANT! All appointments take place within the app, so make sure you have it open and ready to start in advance of your scheduled appointment time.
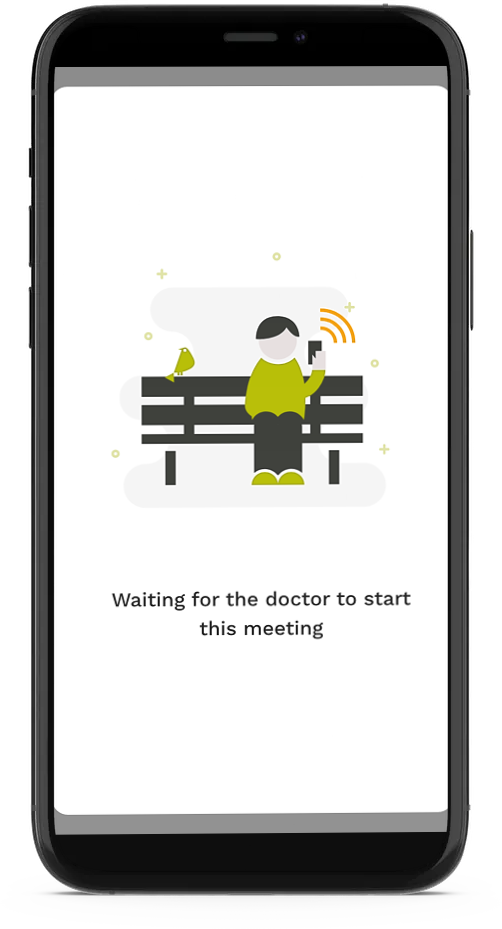
- You can enter the virtual waiting room 10 minutes before your scheduled appointment time. The video icon will light up green to show that it is live (for both video and live chat appointments) You can then start the appointment by clicking on it.
- If you click on the green video icon before your health professional is ready, you will enter the virtual waiting room and they will be notified that you are waiting.
- Your appointment will begin when your healthcare professional activates it, so sit tight!
- You can upload files and photos during your live chat appointment.
- You cannot upload files and photos during your video appointment. However, you and your health professional can easily ping files and photos over after your appointment by visiting your ‘History’ tab at the bottom of your screen.
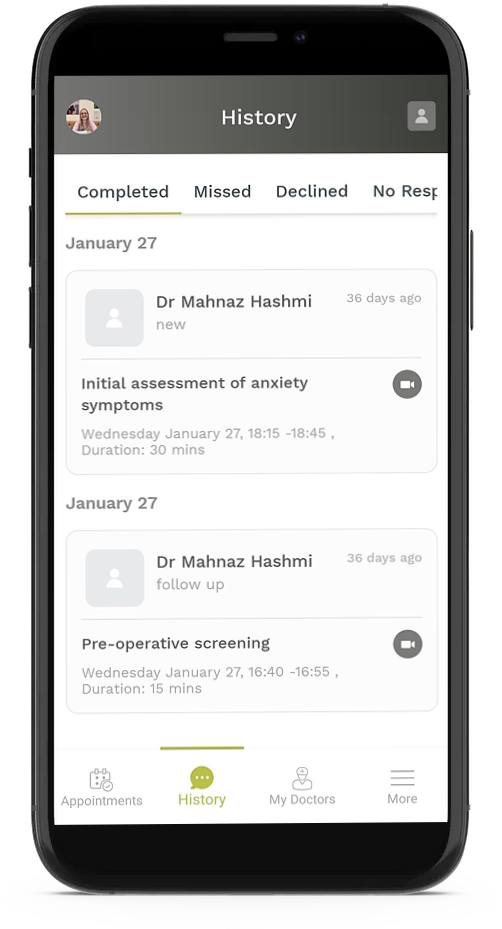
7) After your remote appointment has ended
- Your health professional may send you post-appointment notes to clarify medication, a treatment plan in writing or to arrange a follow up appointment. The appointment note will be attached to your completed appointment, which will have moved into the ‘History’ tab at the bottom of your screen where past appointments are stored.
- If you want to contact your health professional outside of an appointment, you can return to the completed appointment in the ‘History’ tab and send a message, files and photos at any time from here.
For further help, please read our Medstars Connect FAQs. If you have additional questions about your remote video or live chat consultation, please contact your health provider directly.
Medstars Medical Concierge Service
Looking for extra guidance when it comes to your healthcare? Sometimes interpreting medical information and making the best decisions can be daunting and complicated. Our private medical concierge service provides easy access to top UK health experts. We guide our patients with genuine choice and trust, offering a bespoke service for anyone in the world seeking private UK healthcare. Learn more about Medstars Medical Concierge Service. Want to learn more about providing our medical concierge service as an employee benefit? Learn more about Medstars Medical Concierge for Business.